You have the option to either manually build and install all of the environments or use the Docker version for a faster and easier setup.
Here, we will demonstrate how to install the DF-BPMN tool using a Docker image.
- Download the Docker application and create an account.
- In your terminal or command prompt, run the following command: docker pull alinoureldin/df-bpmn:latest
-
Before running the next command, you should:
- Replace <openai-key> in the next command with the key you received by email.
- Change the <bonita-wokspace> to the path of your Bonita workspace folder.
- Run the following command after change the <openai-key> and <bonita-wokspace>: docker run --name="df-bpmn" --rm -p 3000:3000 -p 3001:3001 --env OPENAI_KEY=<openai-key> -it -v <bonita-wokspace>:/usr/src/app/bonita alinoureldin/df-bpmn
- Note: you don't need to add < > in the openai-key, nither in the bonita-wokspace.
Testing for your tool
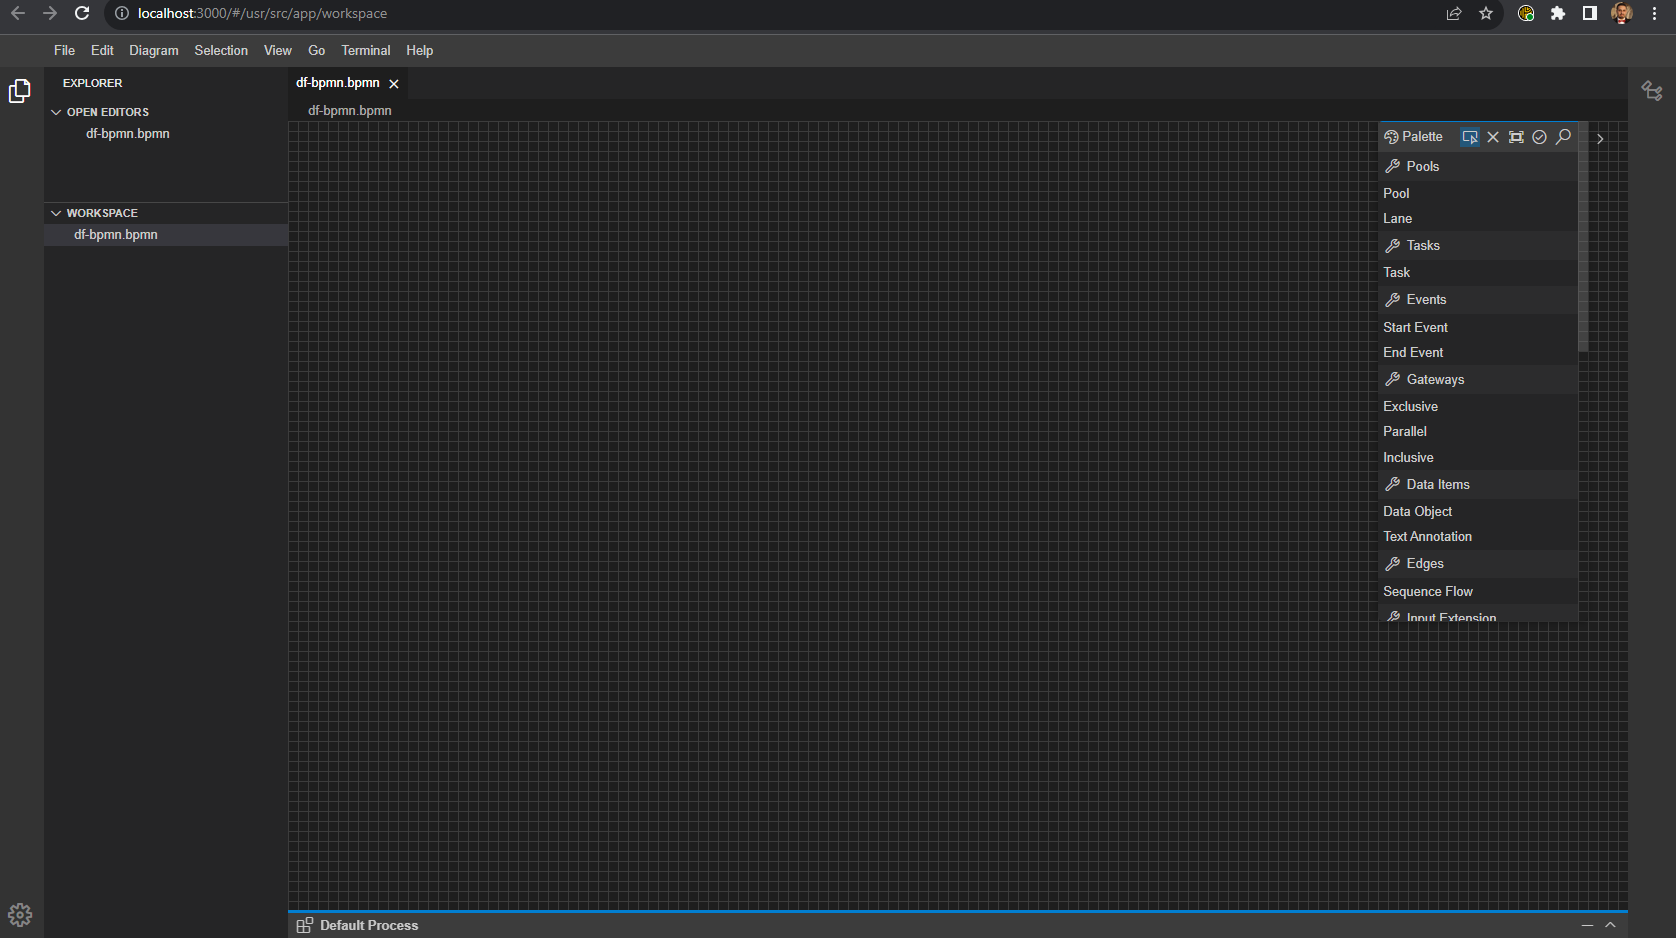
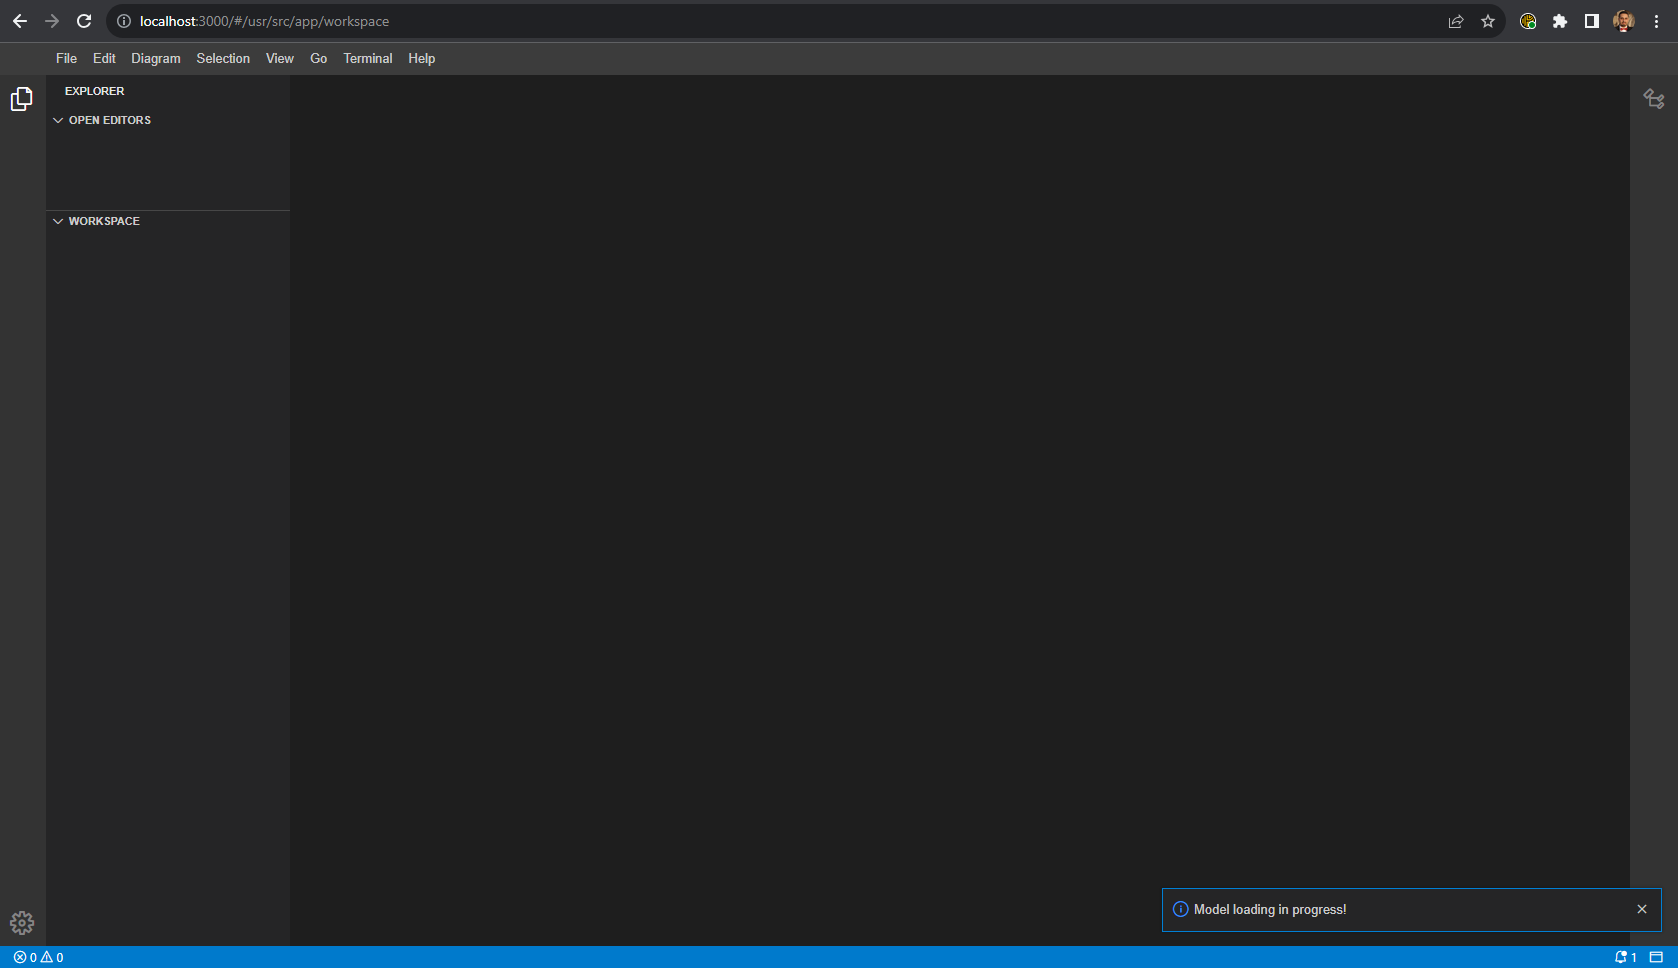
You can access the tool using the following link http://localhost:3000/#/usr/src/app/workspaceThe image below is the default page for the tool.
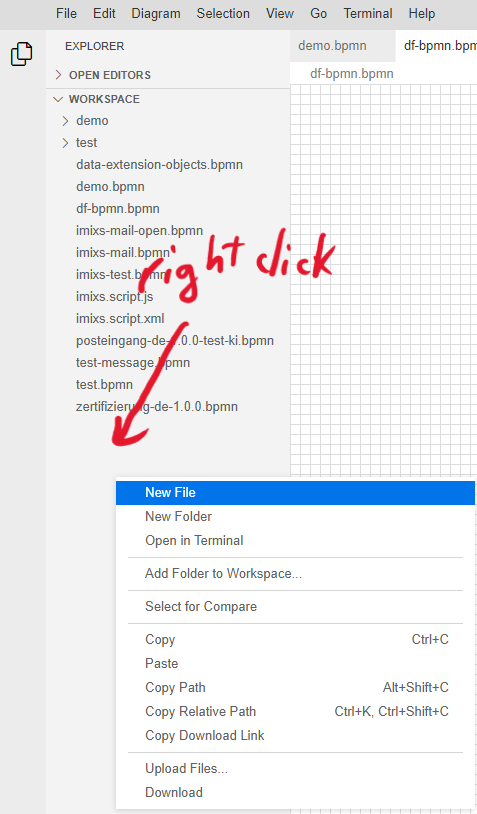
Create a New BPMN file
-
Right-click on the white space, and then click on 'New File'.
-
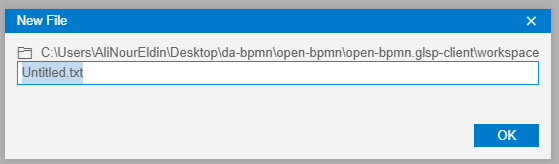
Rename it to *.bpmn.
Double-click on the created file, and you can now start modeling in the DF-BPMN tool.